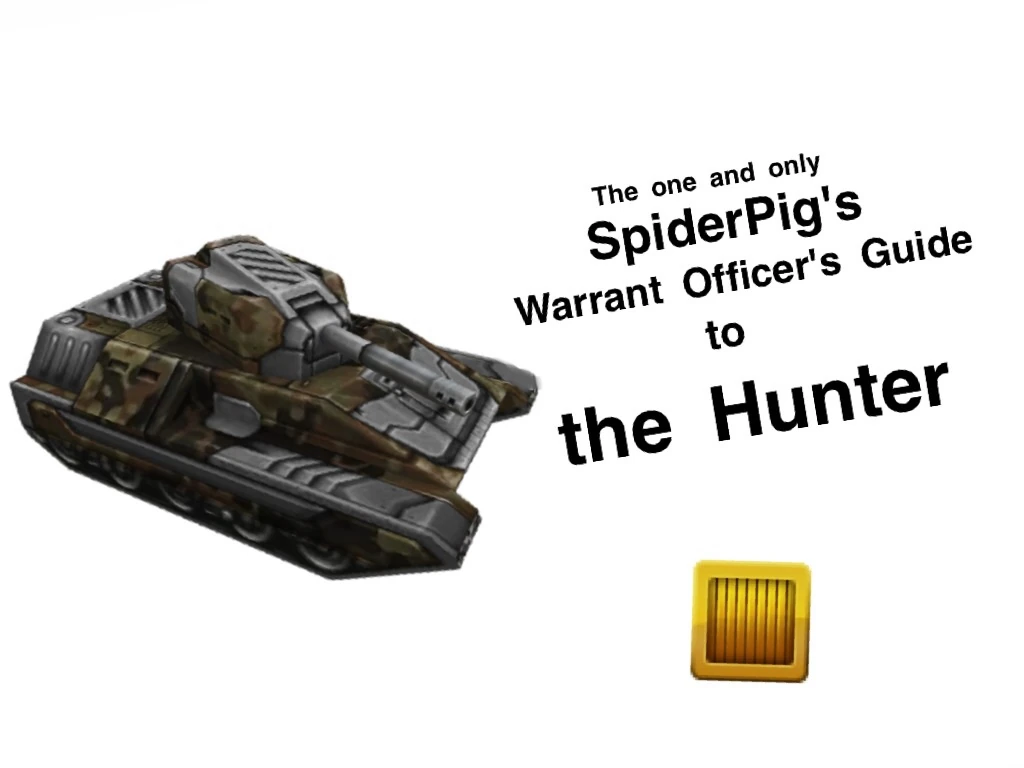
There is a reason that the hull you first start your journey with is the Hunter. There is a reason that it is underestimated greatly. There is a reason why you do not see many Hunters on the battlefield. My friends, these reasons are what makes the Hunter the Hunter, and why it is the best hull in the game. Today we will look at the pros and cons of the Hunter, why it is unpopular and underestimated, and how to use this hull to the best of your ability.
As you open up your garage for the very first time, you will have the original, basic hull equipped: the Hunter. The Hunter is speedy yet strong and extremely versatile. Focusing on speed, it is the fastest of the three medium class hulls, which are as follows: the Viking, the Dictator, and of course: the Hunter. Although it is very quick, it does not have as fast acceleration as you may be hoping for, which can sometimes put a damper on the peek-a-boo trick. That trick requires fair acceleration speeds because you have to go back and forth without getting hit, which is easier said than done. But than again, because the turret is not placed closer to one end of the tank than the other, you still have a part of the hull sticking out which could potentially get shot. Sticking on the shape and size of this hull, it is not as unique as the Dictator or the Wasp, but it is extremely stable. It covers a lot of space and is low enough to the ground that it is nearly impossible to flip. It provides that classic tank look that can inspire you to victory on the battlefield. The Hunter also has a lot of health, which is a great match that unfortunately is not seen too often with fast hulls. You have to remember, although it may not seem like it, that the Hunter is the third fastest hull in the game, right behind the Wasp and the Hornet. That health is essential for extreme versatility, allowing it to be used in whatever gameplay style you prefer. Overall, the Hunter performs the best in Team battles, but when equipped with drugs can be great in Deathmatches. And for all you Gold Hunters out there: yes, this is a good hull for that.
The Hunter is compatible with any turret you choose. In this section of my incredibly awesome guide, I will show you every possible turret/hull combination with the Hunter and the pros and cons of each single one.
Starting with the close range weapons, which I will group together as one due to very similar gameplay. The Freeze, Isida, and Firebird are all good to use with the Hunter, but not ideal. Although it has very good speed, for these turrets you want the most you can get, so you can kill quick, run off, and start again. If you are moving, you are alive. Some Mammoths forget this - but that's not the point. Using the Hunter for the close range turrets can be good, especially in Team battles, where you can outlast Wasps and Hornets and still regain some speed. Overall, it comes down to a matter of health. Unless you are a hardcore drugger, don't even go near Deathmatches with these combos. Stick to Team battles, where you have your teammates backing you up and where speed is not essential.
This Twins and Ricochet are very close after the New Physics update, which is why they are considered their own unique classification. When using these two dangerous combos, the Hunter and Twins and the Hunter and Ricochet, you need to focus on one target at a time. That is the easy part; the hard part is attacking without them knowing. That's right, sneak attacks are the key to these combos. Why? Unfortunately, it's because of the lack of strength of each individual shot. In Deathmatches, if you only manage to get one shot away before the enemy sees you, you're usually dead meat, just sitting there at their mercy. If you are only slightly damaged but out in the open, I can guarantee a Railgun will one-shot you. Which is why you either hide and then bounce the Ricochet's shots off walls to get kills or you back off under cover and fire away when no one is watching. You are going to need to hide only because you do not have the health those druggers out in the open do. However, feel free to charge the flag and do whatever you want in Team battles, where everyone uses Hornet. Remember, you are more stable and almost as fast as those Hornets out there. You can use this hull in any gamemode, but smaller maps would be better.
The medium turret class consists of the Thunder and the Smoky, which are by far the most compatible with the Hunter. The versatility of the Smoky matches the Hunter perfectly, which is why the devs are so smart and picked that combo to be the one every tankman gets to start with. The random critical hit and the repeated fire adds to the awesomeness that the Smoky and the Hunter together provide for you. Both are underestimated greatly and overperform in all situations. The Thunder does more damage and has Splash damage. Because the Hunter has a considerable amount of health, with Thunder you can accidentally hit walls or flip your tank that landed on its side, back onto its treads again without doing any serious damage to your hull, like you would to a Hornet or Wasp. However, this does make it harder to self-destruct than it does with a lighter hull, when it only takes one or two shots. This combo can be used in any map in any gamemode. I recommend you play in medium-ranged maps and that you should give Deathmatches a try.
The final class of turrets is the long range class, the Railgun and the Shaft. When these turrets are equipped with the Hunter, it is best to do some sniping in long range maps. Act just as if you were using the Hornet, for they are very similar when comparing the long-range weapon gameplays. You will survive more than you would with the Hornet, which can come in handy in a pinch when sniping. The Hunter and the Railgun are a very stable combo. Unlike the light hulls, you will not flip over when you shoot ánd are shot at the same time. The Hunter and Shaft are a very unlikely combo but is surprisingly and extremely effective when sniping in large maps, and then ducking in cover, and then sniping, and then ducking in cover and so on and so on. Team Deathmatches are the best gamemode to use these combos in, due to the lack of goals to accomplish and the ability to go anywhere in the map without mines being laid everywhere near flags or control points. Deathmatches are once again risky but optional.
The best drug to use with the Hunter is probably Nitro for double speed. That one little drug will make the Hunter as fast as the Hornet, with drift and more speed. All the other power ups are pretty good, but this one is by far the best.
After some serious calculating and study, I bring you this awesome guide on this totally underrated hull. Although many players say no, get to know this hull. Use it, have fun. And in the end, when you realize the true awesomeness of this hull, you can call your favourite. I hope to see some more Hunters out there soon. See you on the Battlefield!
An article by SpiderPig1 For questions and comments contact lexon687@gmail.com.